
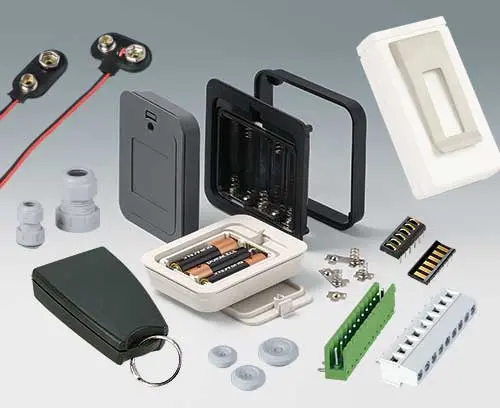
 Accessories for enclosures

-
Products
Products Enclosures and tuning knobs
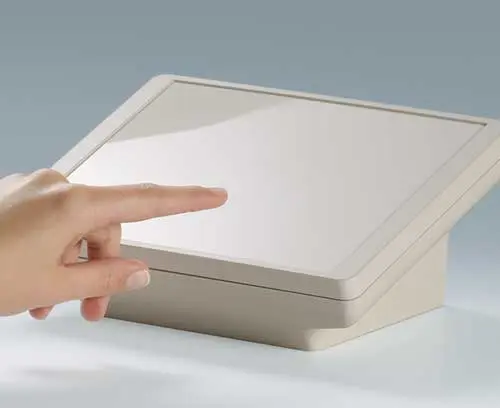
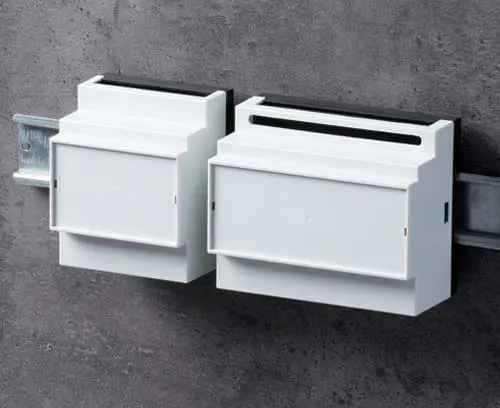
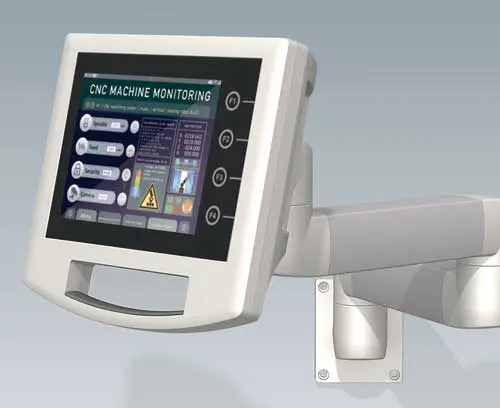
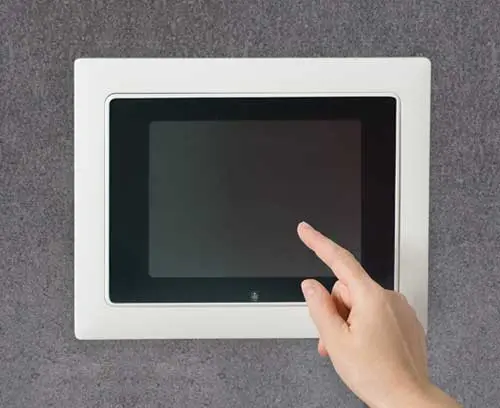
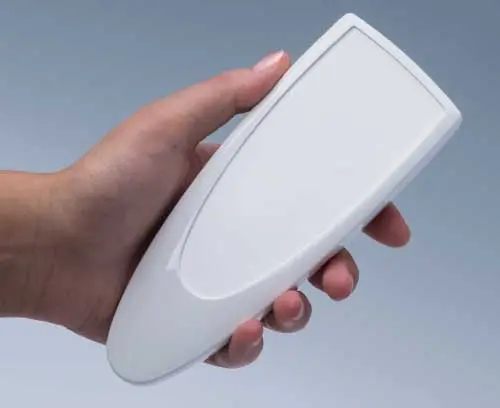
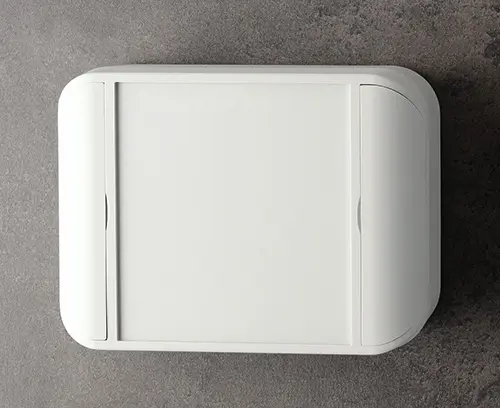
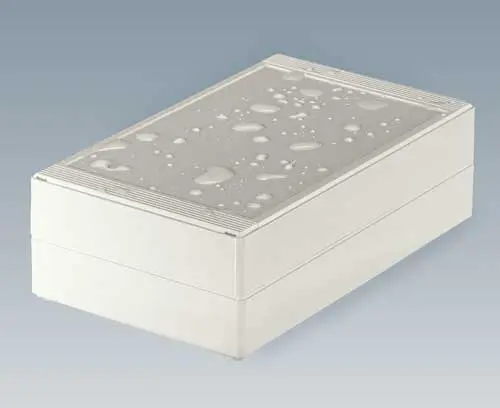
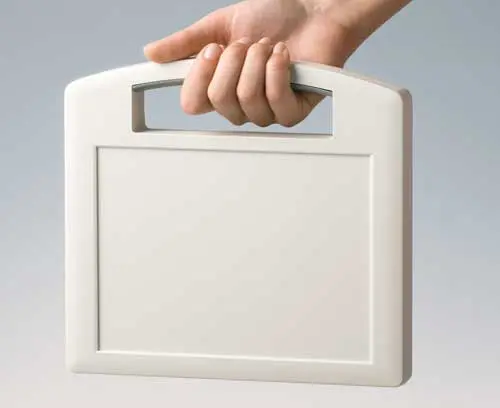
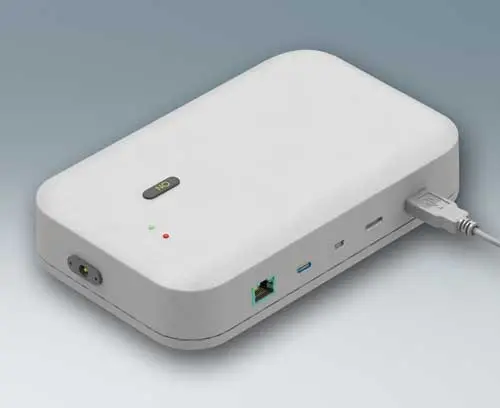
Modern plastic enclosures, aluminum enclosures and tuning knobs for many different applications: Handheld enclosures, wall-mount enclosures, table top enclosures, DIN rail enclosures etc. Take a look for yourself!
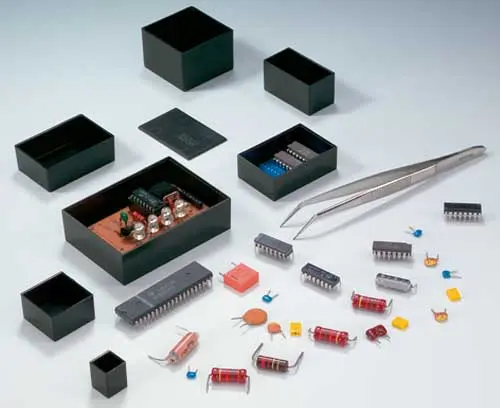
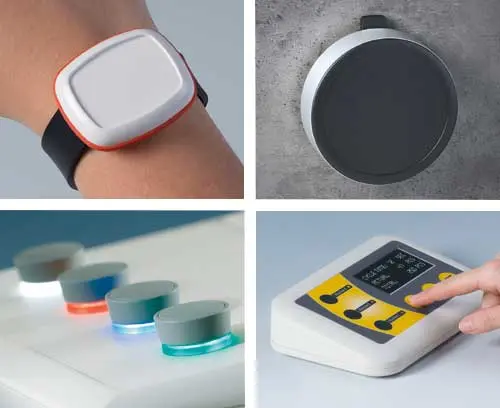 Plastic enclosures Advanced plastic enclosures for electrical and electronics equipment
For up-to-date enclosure design. Gain an overview and choose from our wide range.
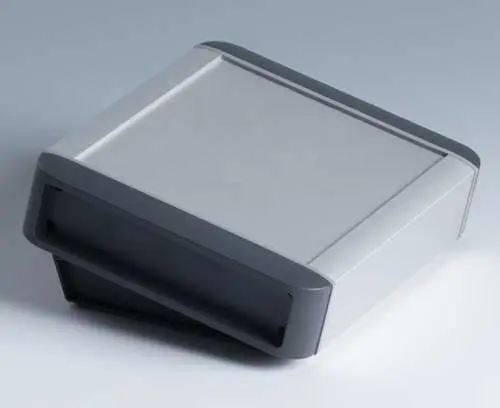
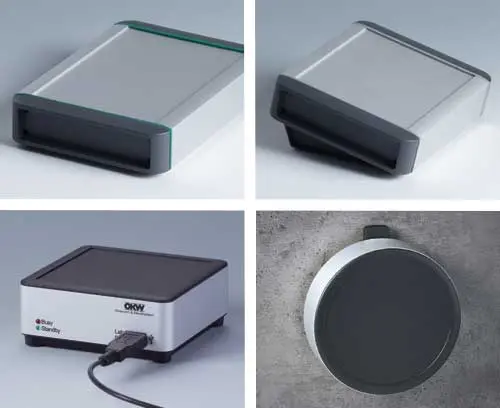
 Aluminum enclosures High quality aluminum profile enclosures with attractive plastic end panels
Stylish and robust protection for your electronics. Aluminum profiles available in special lengths on request.
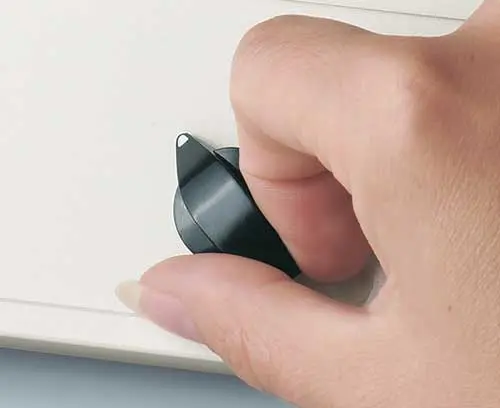
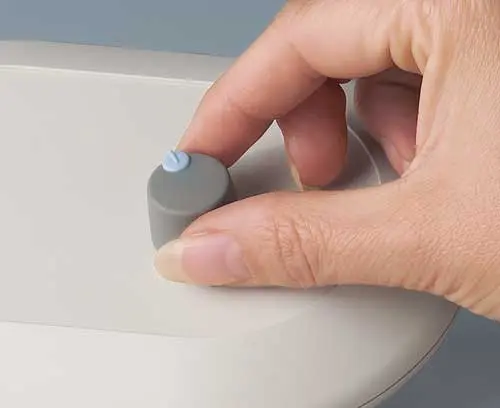
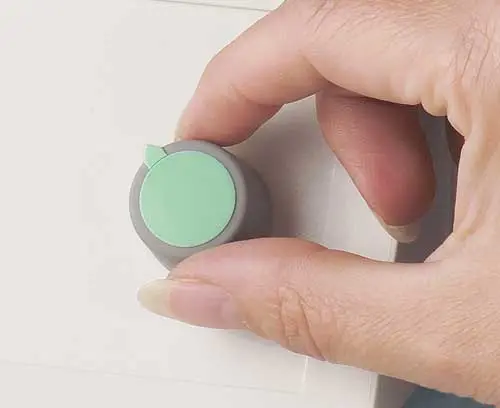
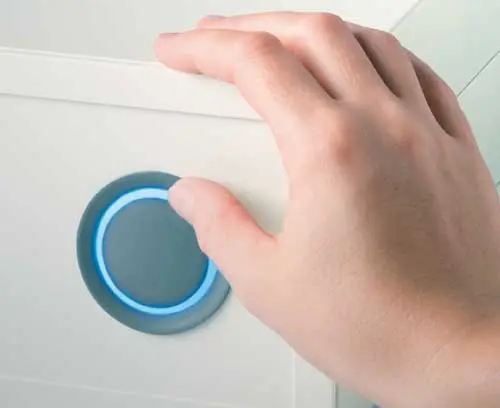
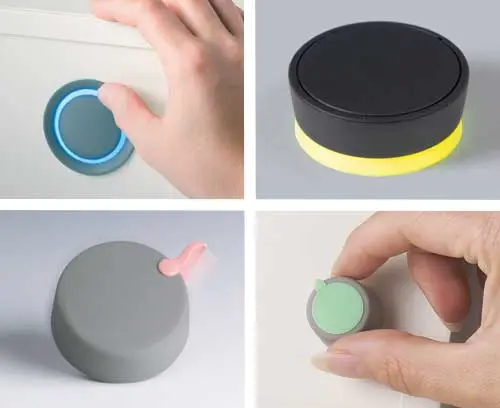
 Potentiometer / Tuning knobs Extensive range of tuning knobs: ergonomic, modern and classic designs
Well-proven for rotary potentiometers with round and flattened shaft ends according to DIN 41591 or 6/4.6 mm.
-
Customizing
Customizing We can supply the enclosures to your exact requirements, installation-ready
Tell us what you need to complete your particular product design. We can process and finish our enclosures and tuning knobs accordingly. Learn more about our services here…
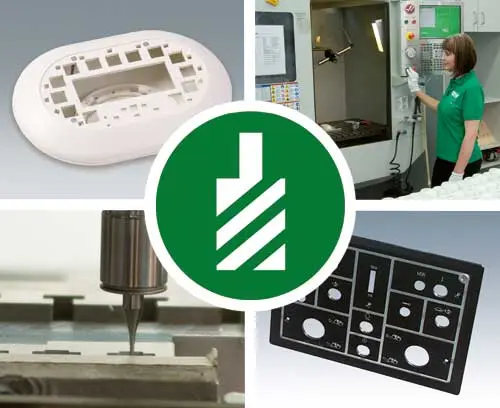
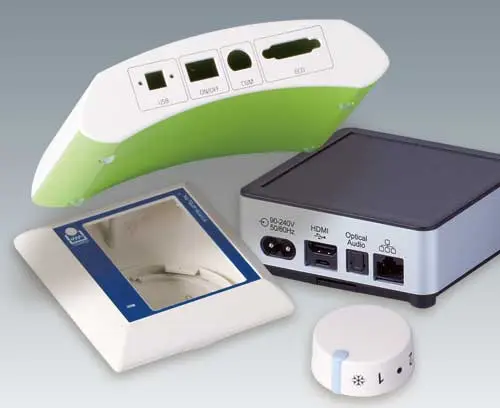 Machining Fast, high quality and accurate machining to your specifications
Cutouts / openings for interfaces, displays, operating elements, cable inlets and outlets, tapped holes, recesses for decoration foils etc.
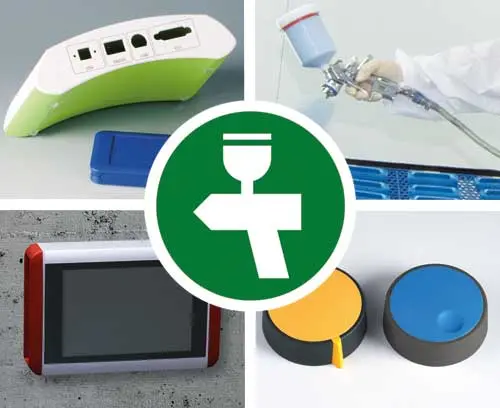
 Lacquering We can lacquer our products with highly attractive and tough finishes for demanding use
Choose your company color or a protective lacquer for special requirements, e.g. ESD lacquer.
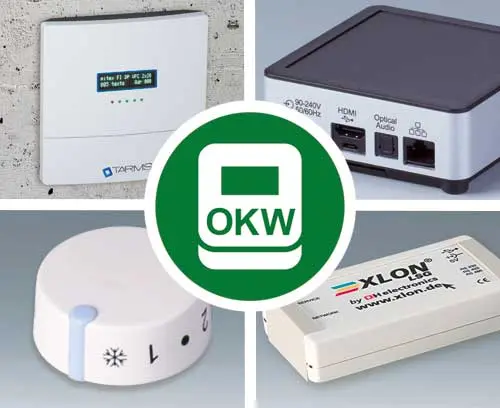
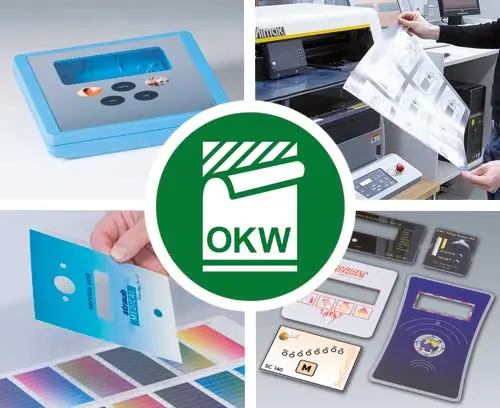
 Printing We can print enclosures, front panels and tuning knobs using screen/tampo printing and digital printing
Logo, text and graphics printed in your colors.
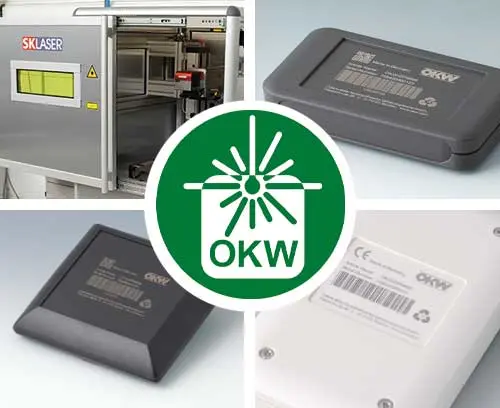
 Laser marking We offer laser marking for numerous enclosures and components from our standard range
For individual labelling, identifying or marking, e.g. logo, text, graphics, codes, numbering etc.
 Decor foils We can print decor foils digitally, in photo quality, for labelling the enclosures
Foils without/with embossing for key functions, display / LED windows, barcodes etc.
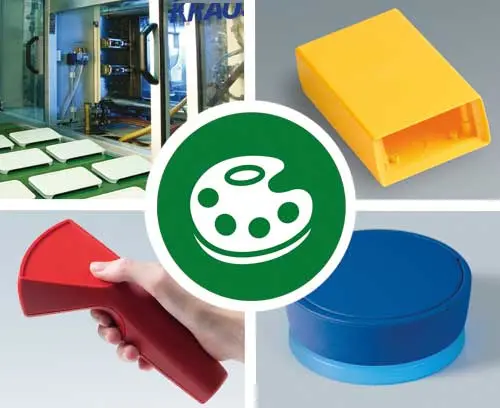
 Special material We can also mold our plastic enclosures and tuning knobs in special colors
Your individual color matched to a sample, RAL, Pantone etc.
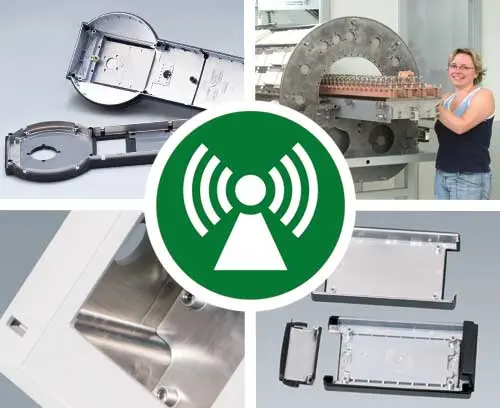
 RFI/EMI shielding Order your plastic enclosures coated with aluminum on the inside to protect against RFI/EMI
Safe and reliable thanks to application-oriented shielding.
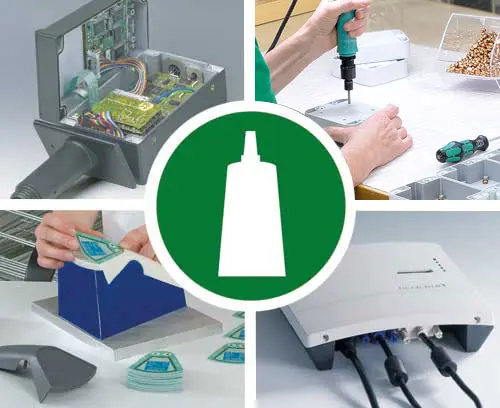
 Installation / Assembly of accessories We perform assembly work to complete the enclosure assembly or device
Assembly of enclosure accessories, bonding of decor foils and display screens, component assembly, individual installation with spacers, fastening pillars etc.
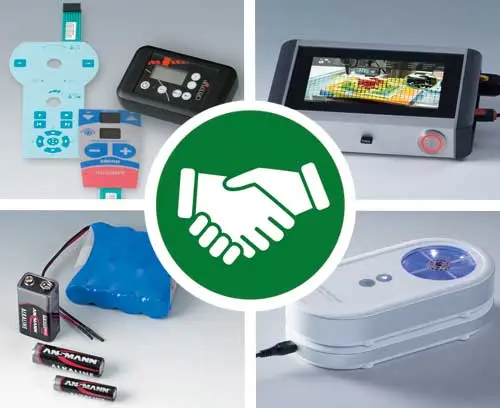
 Partner solutions We cooperate with expert partners
Thanks to partnerships for input systems and power supplies, we can offer you individually tailored enclosures as complete solutions.
-
Applications
Applications In-depth application know-how
Examples of customer applications show the variety of options for using our enclosures and tuning knobs. Choose the application for which you would like to obtain further information.
 Medicine / Laboratory / Wellness Man and ergonomics
OKW focuses on innovative and high-quality solutions with ergonomically favourable shapes that create trust.
 Measuring / Control / Automation Man and precision
OKW solutions guarantee high operating comfort and safety in everyday use.
 Mechanical engineering / Plant building Man and production
OKW solutions are user-friendly and easy to read off, and are also characterised by reliability.
 Automotive / Railway / Construction / Agriculture Enclosures for vehicle and machinery applications
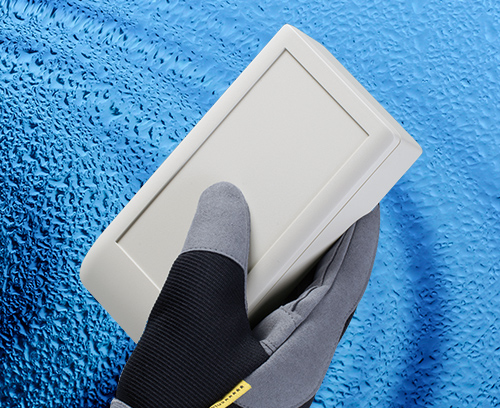
With their robust design and high-quality materials, OKW enclosures and tuning knobs can even withstand tough conditions.
 Military / Defense / Aviation / Marine Enclosures for safety-critical applications
Our modern, robust enclosures and tuning knobs are designed to perform reliably in the most demanding environments.
 Heating / Climate / Environment Man and efficiency
OKW develops solutions to meet your needs so that you and your users can enjoy the devices in the long run.
 Security / Building services systems Man and technology
OKW is a pioneer in the development of state-of-the-art solutions to achieve progress in smart technologies.
 Communication Man and information
OKW sets new standards so that you can get the most out of your information and communication processes.
 Mining / Gas / Oil Man and raw materials
Harsh environments - OKW has solutions that provide a high quality standard for the protection of your electronics.

-
News
News
Full details about all our new products and services along with company news.
NewsFull details about all our new products and services along with company news.
Press releasesRead our latest company press information and our complete press releases archive.
BlogOur blogs cover industry trends, how to's, customer applications, FAQs, international product standards and details about our new products and services.

-
Technical Information
- Technical Information
- How To Request A Sample/Quotation
- How To Download 2D/3D Drawings
- Frequently Asked Questions (FAQ)
- Brochures, Assembly Instructions, Certifications
- Ordering Information
- How To Specify Enclosures
- A Guide to Enclosures Plastics
- IP Ratings Explained
- NEMA vs IP Ratings Cross Reference
- UL 94 Flammability Test
- Viewers/Plug-ins
TECHNICAL INFORMATIONMaterial selection, international standards, protection classes, flammability tests, environmental directives etc.
 HOW TO GET SAMPLES & QUOTE
Use our basket facility to compare different enclosures and tuning knobs, create your own parts lists, and request samples and a quotation.
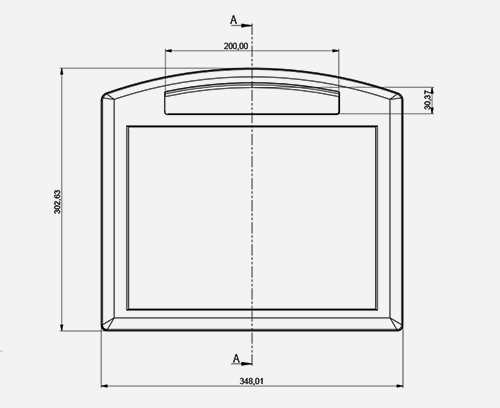
 HOW TO DOWNLOAD OKW DRAWINGS
Download our drawings in 2D (PDF, DWG, DXF) and 3D (x_t, step, sat) formats.
 Frequently asked questions (FAQ) Frequently asked questions about plastic enclosures, aluminium enclosures and potentiometer tuning knobs for electronics.DOWNLOAD AREA
- INSIDE company magazine
- Assembly instructions
- Publications
- Certifications such as our ISO 9001:2015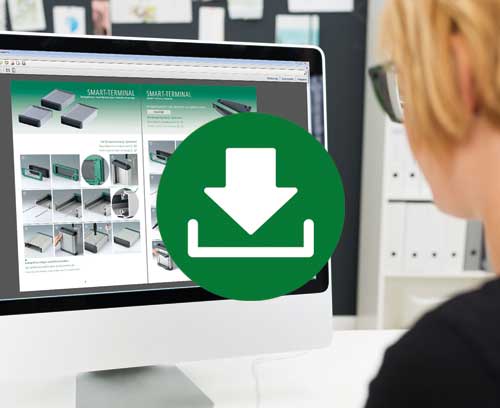 Ordering Information
Full information on how to place an order along with payment and delivery details.
 YOUR GUIDE TO SPECIFYING ENCLOSURES
Reduce project costs and save time – read this guide before you specify your enclosures.
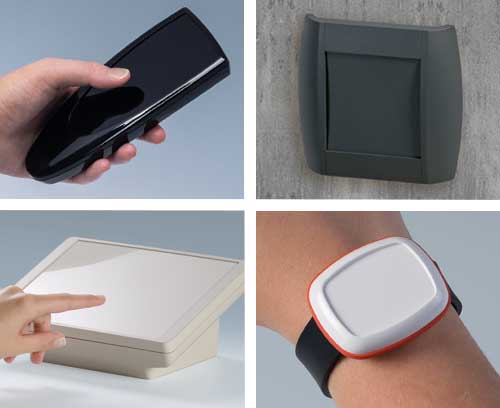 PLASTICS USED FOR OUR ENCLOSURES
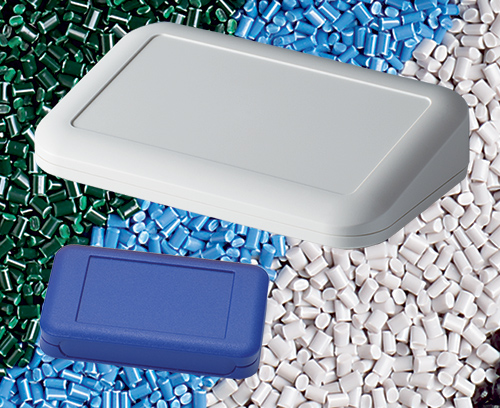
The most common plastics we use in the manufacture of our enclosures are detailed here.
 IP RATINGS EXPLAINED
DIN VDE 0470 PART 1 /EN 60529 / IEC 529
Detailed description of each index number in the standard.
 NEMA vs IP Ratings Cross Reference
NEMA vs IP Ratings Cross Reference
UL94 FLAMMABILITY TESTS EXPLAINEDTest for plastic materials according to UL94- 5VA, 5VB, V-0, V-1, V-2 and HB.
 DOCUMENT VIEWERS & PLUG-INS
Download the latest viewers and plug-ins to read all the documents/drawings on this website.

-
About OKW
ABOUT OKW ENCLOSURES, INC.OKW Enclosures, Inc. is the North American subsidiary of OKW Gehäusesysteme GmbH, Germany. We are based in Bridgeville, PA.
 70 YEARS OF INNOVATION
OKW Gehäusesysteme is a German company with headquarters in Buchen/Odenwald. Learn more about our company, its history and corporate culture, and our worldwide network.
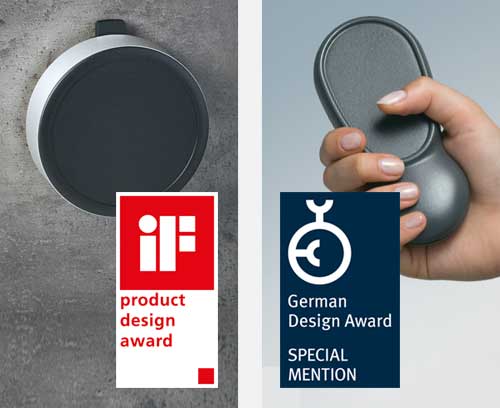
 PRODUCT DESIGN AWARDS
We have received international awards for innovation and the design excellence of our products.
 ENVIRONMENTAL POLICIES
Our engineers and designers attach particular importance to the use of materials and substances which do not pollute our living environment.

-
Contact
CONTACT OKW ENCLOSURES, INC.Full contact details including opening hours and meet our team. Plus how to make an enquiry or request a sample and/or quotation.
 GENERAL ENQUIRIES FORM
Use our contact form for general inquiries and requests for information, and to upload your documents and pictures.
 Location Map
Location Map
OKW's Worldwide Sales NetworkHere you can find your local OKW contact.
We have subsidiaries in 8 countries and long-standing sales partners worldwide who are ready to help you.